Working with forms in Flexie CRM is simple and quite intuitive. Before we proceed to creating a form, let’s briefly explain a thing or two about forms and their importance in your day-to-day activities. Forms are not something standard in a CRM. Things have changed, though. Nowadays, you have to deal with multiple channels of data you collect. In the modern CRM context, forms are a must because they can easily act as a channel of capturing or updating data. In a way, it’s like a bridge between the outside world and your CRM.
In Flexie CRM, a form can be used as a standalone application which collects data, which you can then export in CSV format. Alternatively, you can take advantage using the “bridge” in between. This means that the form can be easily tied with an Entity, which could be any from your standard built-in Entities like Leads, Contacts, Accounts and so on. Moreover, you can tie it with a custom entity. Remember that an Entity is a core part of Flexie CRM, while a form is a channel of communication with the outside world. You can use forms to update your existing records, or you can use them to capture new records. By using the form as a bridge, you can map each form field with each entity field. Make sure to map all the entity required fields. If you don’t, the record would just sit in the form results, so you cannot further process it on the entity level.
To see how you can work with Flexie Forms, we’re going to take a concrete example. Let’s suppose you’re a recruitment agency and you want to build a hiring form. To do that, first head over to Forms and then click Manage Forms. To create a new form, go to the top-right corner of the screen and click New.
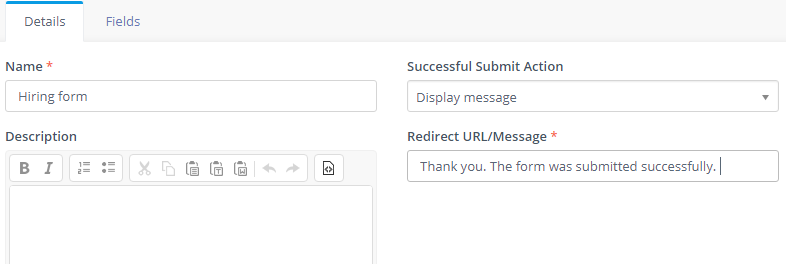
Next, you need to choose the entity that will be used for your form. Choose Lead and then click Select. Next, give the form a name (Hiring form) and you might also want to display a message upon a lead(candidate) submitting the form.
To build our form, we’re going to need four fields: Name, Email, Phone and Attach file. When you click Fields, you will see the Add a field button. On the drop-down menu, go and click Text. You will be greeted with the following form:
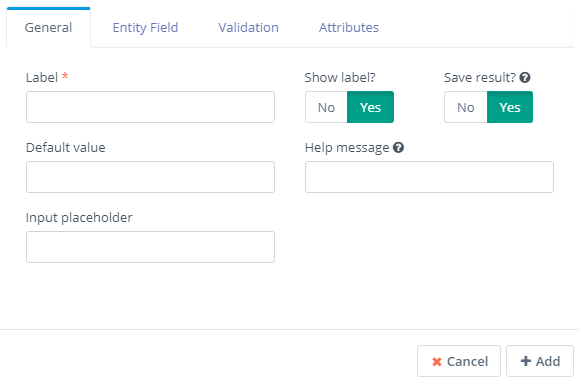
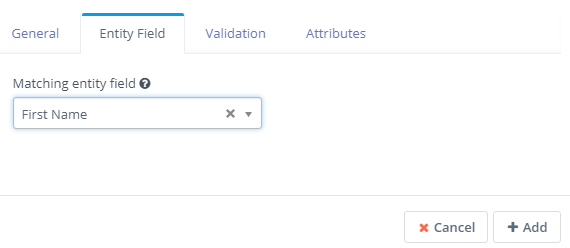
On the Label field, write Name. Next, click Entity Field. Make sure to map each form field(Name in our case) with each entity field(First Name in our case). Once you map the fields correctly, click Add.
You can easily add the other fields (Email, Phone and Attach file) by following the steps described above. Once you’ve mapped and added the fields, go to the top-right corner of the panel and click Save & Close.
You’ve just created a new form! To see how the form works, go to Forms -> Manage Forms and then find the form you’ve just created, Hiring form. To preview the form you’ve created, go right beside Hiring form and click Public URL.
Below is how the form you’ve just created looks like, how the lead(candidate) sees it.
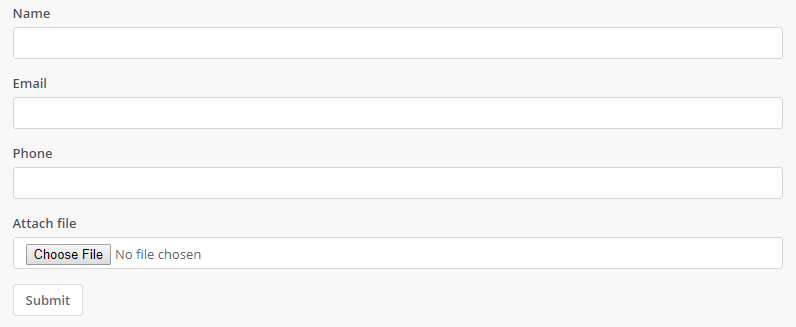
Once the lead(say John) fills in the fields, he clicks Submit. After the form is submitted, John will see the display message.
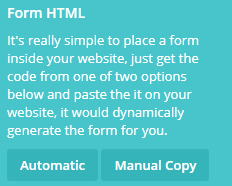
In Flexie CRM, you can easily include forms inside your website. Once again, click Forms -> Manage Forms and then click Hiring form.On the right panel, you will have Form HTML code that you can include in your website. You can either select Automatic, where the code will generate the form inside your website. Or you can select Manual Copy. All you have to do is copy all generated HTML and make any custom change based on your requirements.
You can also edit a form whenever you see it fit. To do this, go to the top-right corner and click Edit.You can change the form’s name, fields and display message. To see how you can work with forms, please check our video below.
To stay updated with the latest videos, please subscribe to our YouTube channel, Flexie CRM.
To stay updated with the latest features, news and how-to articles and videos, please join our group on Facebook, Flexie CRM Academy.