Let’s say you’re a call center and one of your agents has called a lead. Judging from the conversation, you believe the lead is interested in the product/service you’re selling, but would like to know more. Converting the lead is your final aim, but there are steps you need to take, tasks to be carried out before you convert that lead. Creating a workflow is the best way to manage all your leads. Below is how you can create manual re-usable action sets:
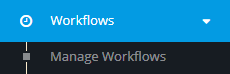
Go to Workflows and on the drop-down menu click Manage Workflows.
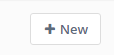
Go to the upper-right corner of the screen and click New.
Choose Lead as your workflow entity type.
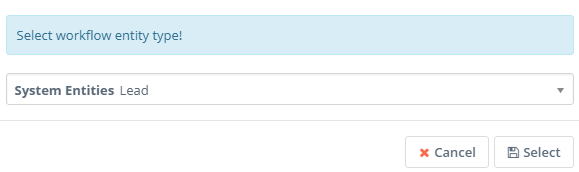
Give it a name, write a description, choose a category (optional) and then click the Launch Workflow builder button.
![]()
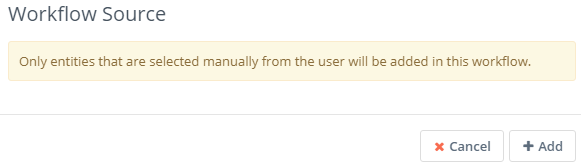
As your workflow source, choose Manual.
![]()
Now you want to add actions. For example, you want to add a note for that lead. Go to Actions and select Add note.
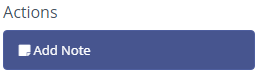
Once you write the note and fill in the other fields, click Add.
Next, you want to update the lead’s status. Go to Actions and click Update Lead.
![]()
Go to Update Status and tick the checkbox right next to it. Set the status to Nurture and then click Add.

![]()
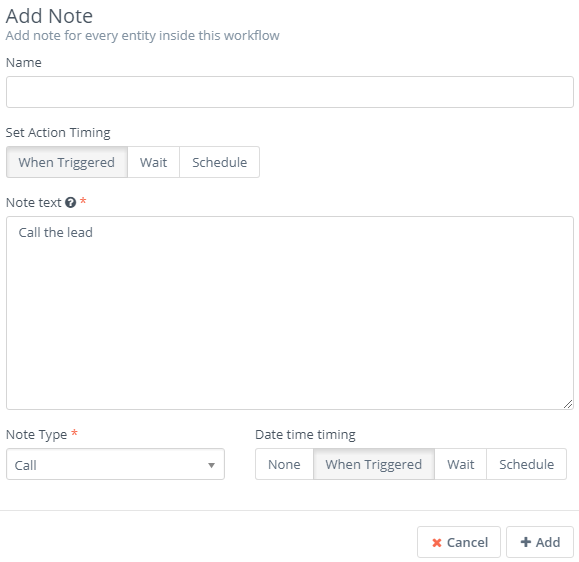
You also want to send a follow-up email to the lead who has expressed interest. Go to Actions once again and click Send email.
![]()
After filling in the fields, click Add.
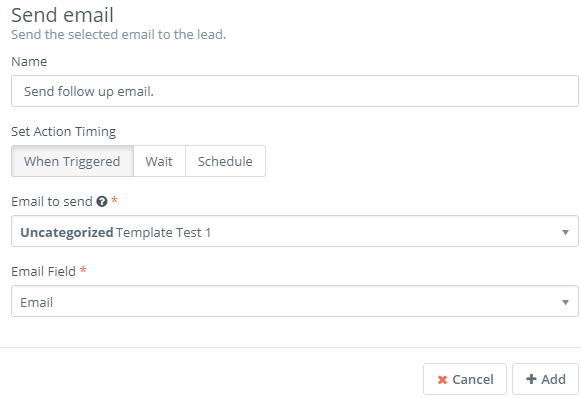
After sending the email, you want to see if the lead has opened it. Go to Watch for events and choose Open Marketing Email.
![]()
Give it a name and click Add.
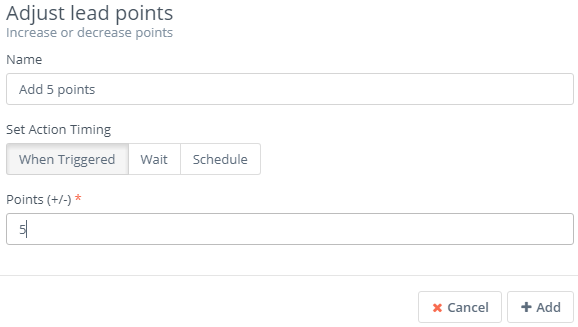
If the lead opens the marketing email, you want to execute other actions. For example, you want to add 5 points to that lead and also send a web notification to a specific user or group within the CRM. First, go to Actions and choose the Adjust lead points button.
![]()
Give it a name, choose When Triggered, set 5 points and then click Add.
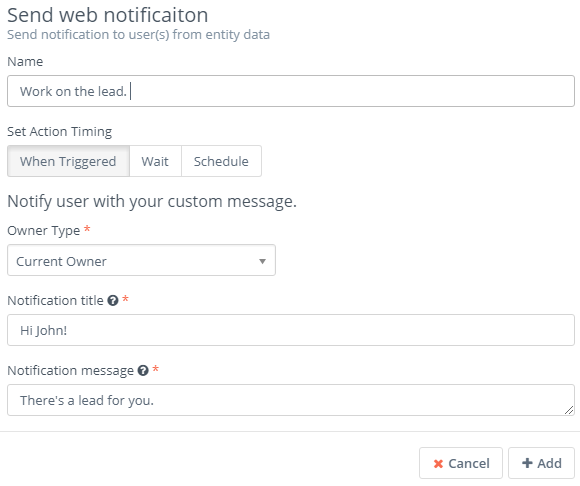
Next, you want to send a web notification. Go to Actions and click the Send web notification button.
![]()
After you give it a name, choose who is going to receive the notification and after you fill in the other fields, click Add.
Next, click Close Builder and then click Apply or Save & Close.
![]()
![]()
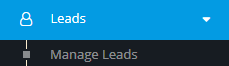
To run the workflow we’ve just built on a specific lead, go to Lead and on the drop-down menu choose Manage Leads.
Here is the list of leads you have. To run the workflow on that specific lead who is interested in your product/service, go to the lead and tick the checkbox button right next to it.
![]()
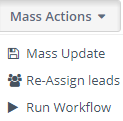
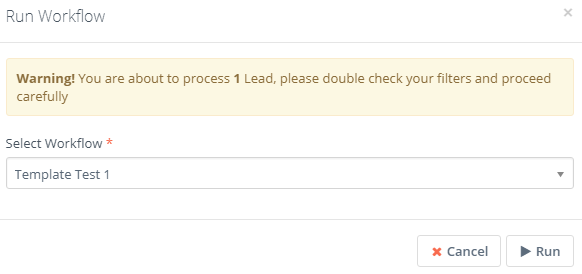
Next, go to Mass Actions and click Run Workflow.
Select the workflow we’ve just created and then click Run.
The workflow will execute all the actions as specified above.
To stay updated with the latest features, news and how-to articles and videos, please join our group on Facebook, Flexie CRM Academy.