In one of our videos, we explained how you can create a case from an email. Now we’re going to explain automatic case creation from an email in Flexie CRM. Before we explain that, go to Settings at the upper-right corner of the panel and click Configuration.

Next, go to Case Settings and as Case Email Account choose the email address from which will be sent case replies. In our case, we will choose Flexie Support.

Next, we are going to create a workflow. To do that, go to Workflows and on the drop-down menu click Manage Workflows.
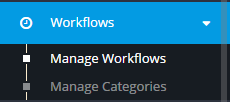
Go to the upper-right corner of the panel and click New.
![]()
Next, choose Case as your workflow entity type and then click Select.

Give the workflow a name and then click Launch Workflow Builder.

Next, choose Listener as your workflow source.
![]()
Go to Watch For events and choose Email to New Case.
![]()
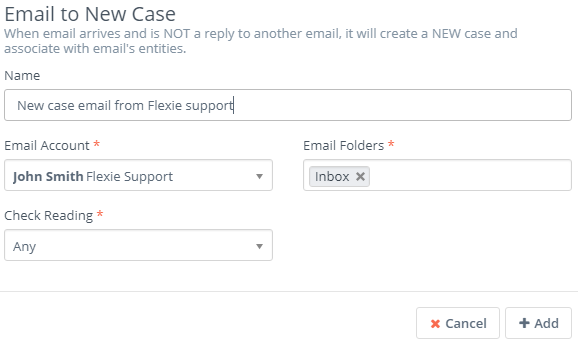
Give it a name, choose the email account, the email folder (say Inbox), and on Check Reading choose Any. Next, click Add.
The workflow we’ve just built looks like this.
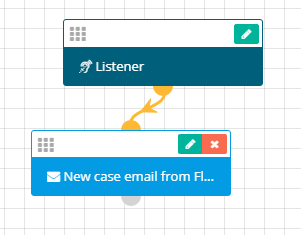
Then go to the top-right corner and click Close Builder.
![]()
Finally, click Save & Close.
![]()
You’ve just created the workflow. Now let’s suppose that one of your leads, say David, is having trouble importing contacts. He sends you an email from his Gmail account, asking for help.
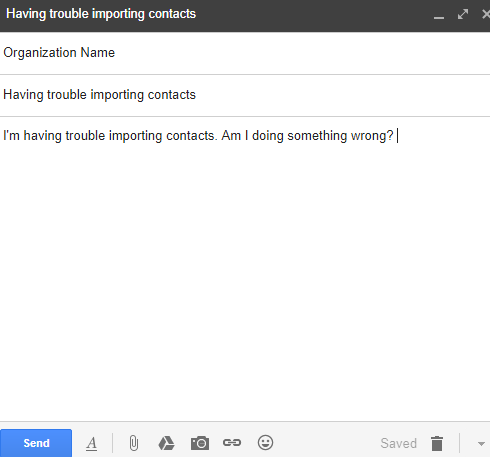
You receive the email in your Mailbox, and now you want to send an email to David.
![]()
The system has automatically created the case as specified in the workflow built. To see that, go to Cases and on the drop-down menu click Manage Cases.

The case that has been automatically created has an identifier composed by letter and numbers. The identifier does what it says: it identifies the case and every email correspondence will belong to this specific case.

Next, click on the Case name. On the right hand side of the panel, write and send a message to David. Since the problem has not been solved yet, send it as pending.

Let’s assume that David receive the message, reads it, and maps the field correctly. David has now solved the problem: he can easily import contacts. As a sign of gratitude, he wants to send a reply thank you for helping him out. Now you’re going to need another workflow. To build it, just follow the instructions above described, with one exception: the Watch For event will be Email to Reply Case.
![]()
You’ve built the second workflow. Let’s say that David writes and sends his ‘thank you’ message.
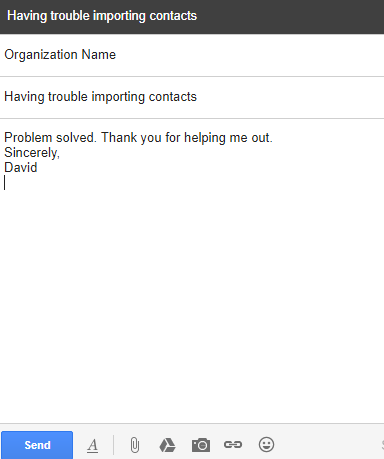
This is where the second workflow comes into play. Remember, the second workflow ‘listens’ for a specific event. In our case, it will ‘listen’ for a reply. Now, let’s further suppose that you want to reply back to David. Click the name of the case once again, go to the right hand side of the panel and write the message, and then send it as Solved.

David will immediately receive the message you wrote. This was just one of many concrete examples of automatic case creation from an email in Flexie CRM. Please check the video below for an in-depth explanation.
For more videos and updates, please subscribe to our YouTube channel Flexie CRM.
To stay updated with the latest features, news and how-to articles and videos, please join our group on Facebook, Flexie CRM Academy.